
30 Years of Excellence
-
For IndividualsBack to main menu
For Individual
-
Windows Data Recovery
Recovers lost or deleted Office documents, emails, presentations & multimedia files.
-
Mac Data Recovery
Recovers deleted files, photos, videos etc. on Mac.
-
Photo Recovery
Recover photos, videos, & audio files from all cameras and storage on Windows or Mac.
-
iPhone Data Recovery
-
Video Repair
-
Photo Repair
Repair multiple corrupt photos in one go. Supports JPEG & other formats.
- Android Data Recovery
-
-
For BusinessBack to main menu
For Business
-
Email Repair
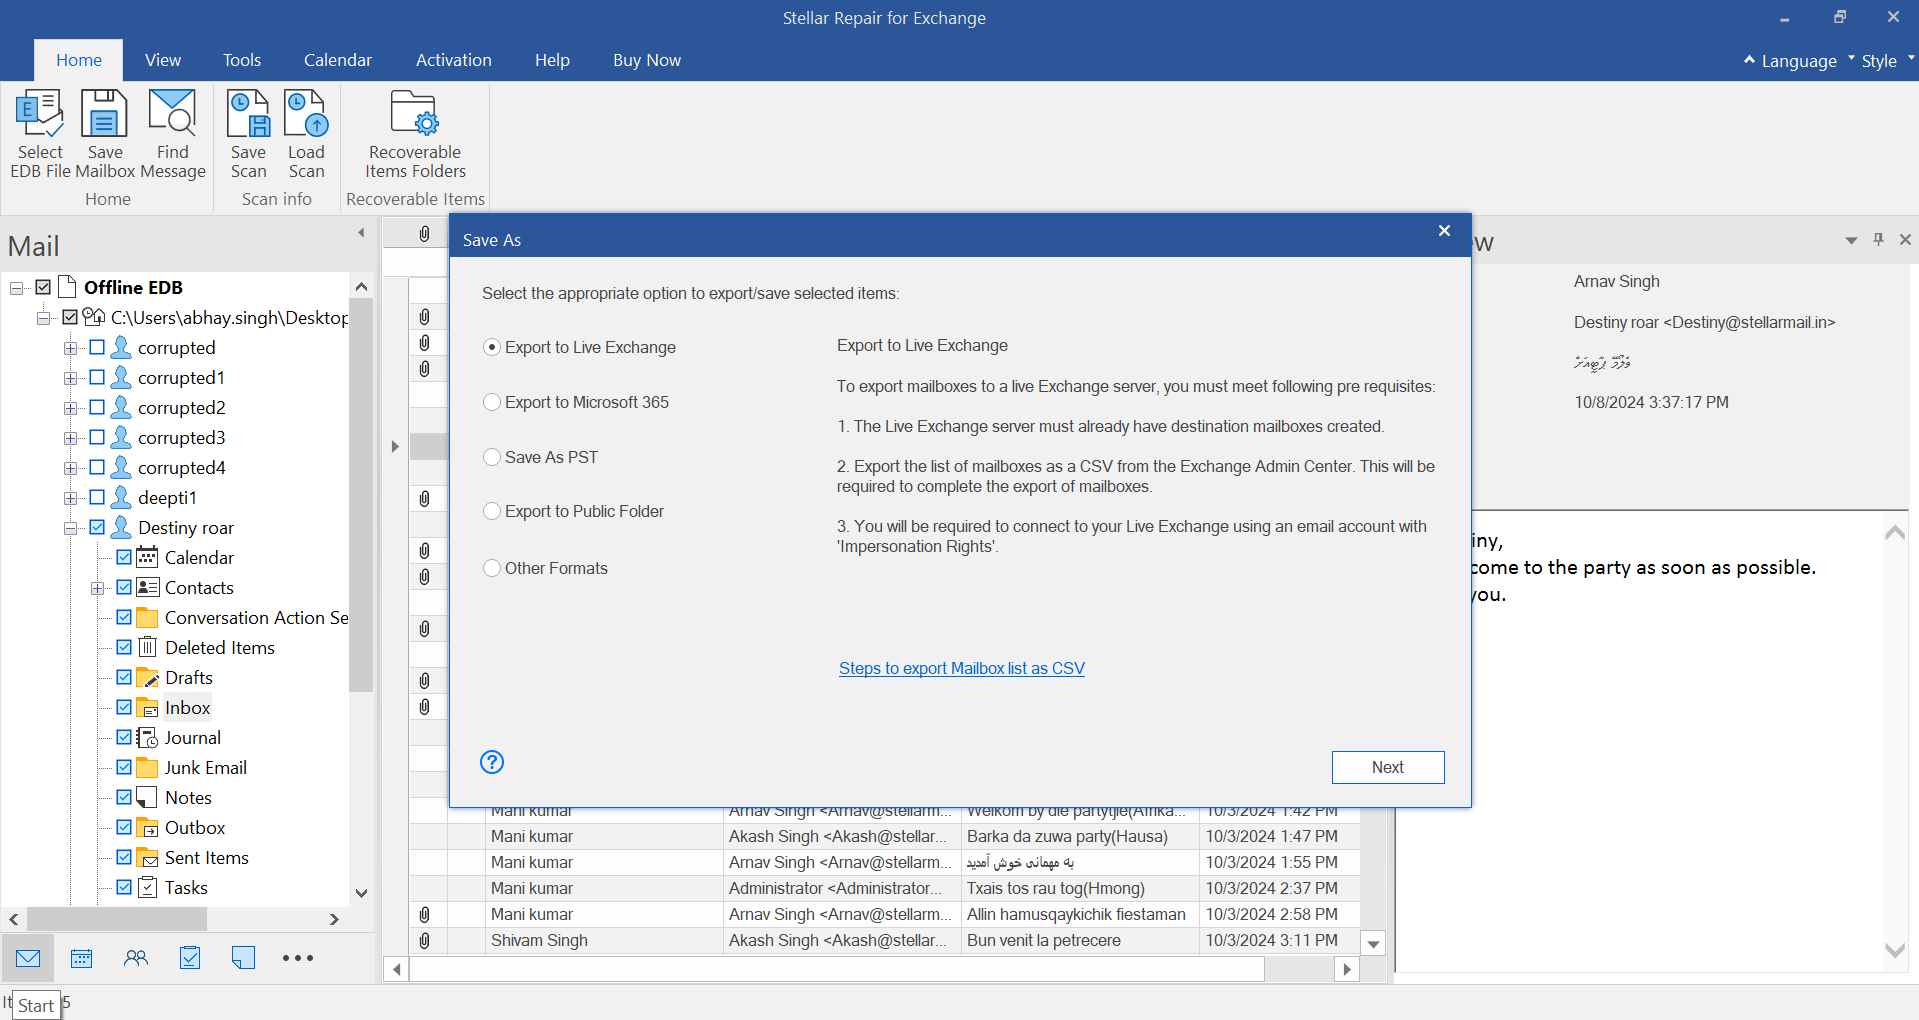
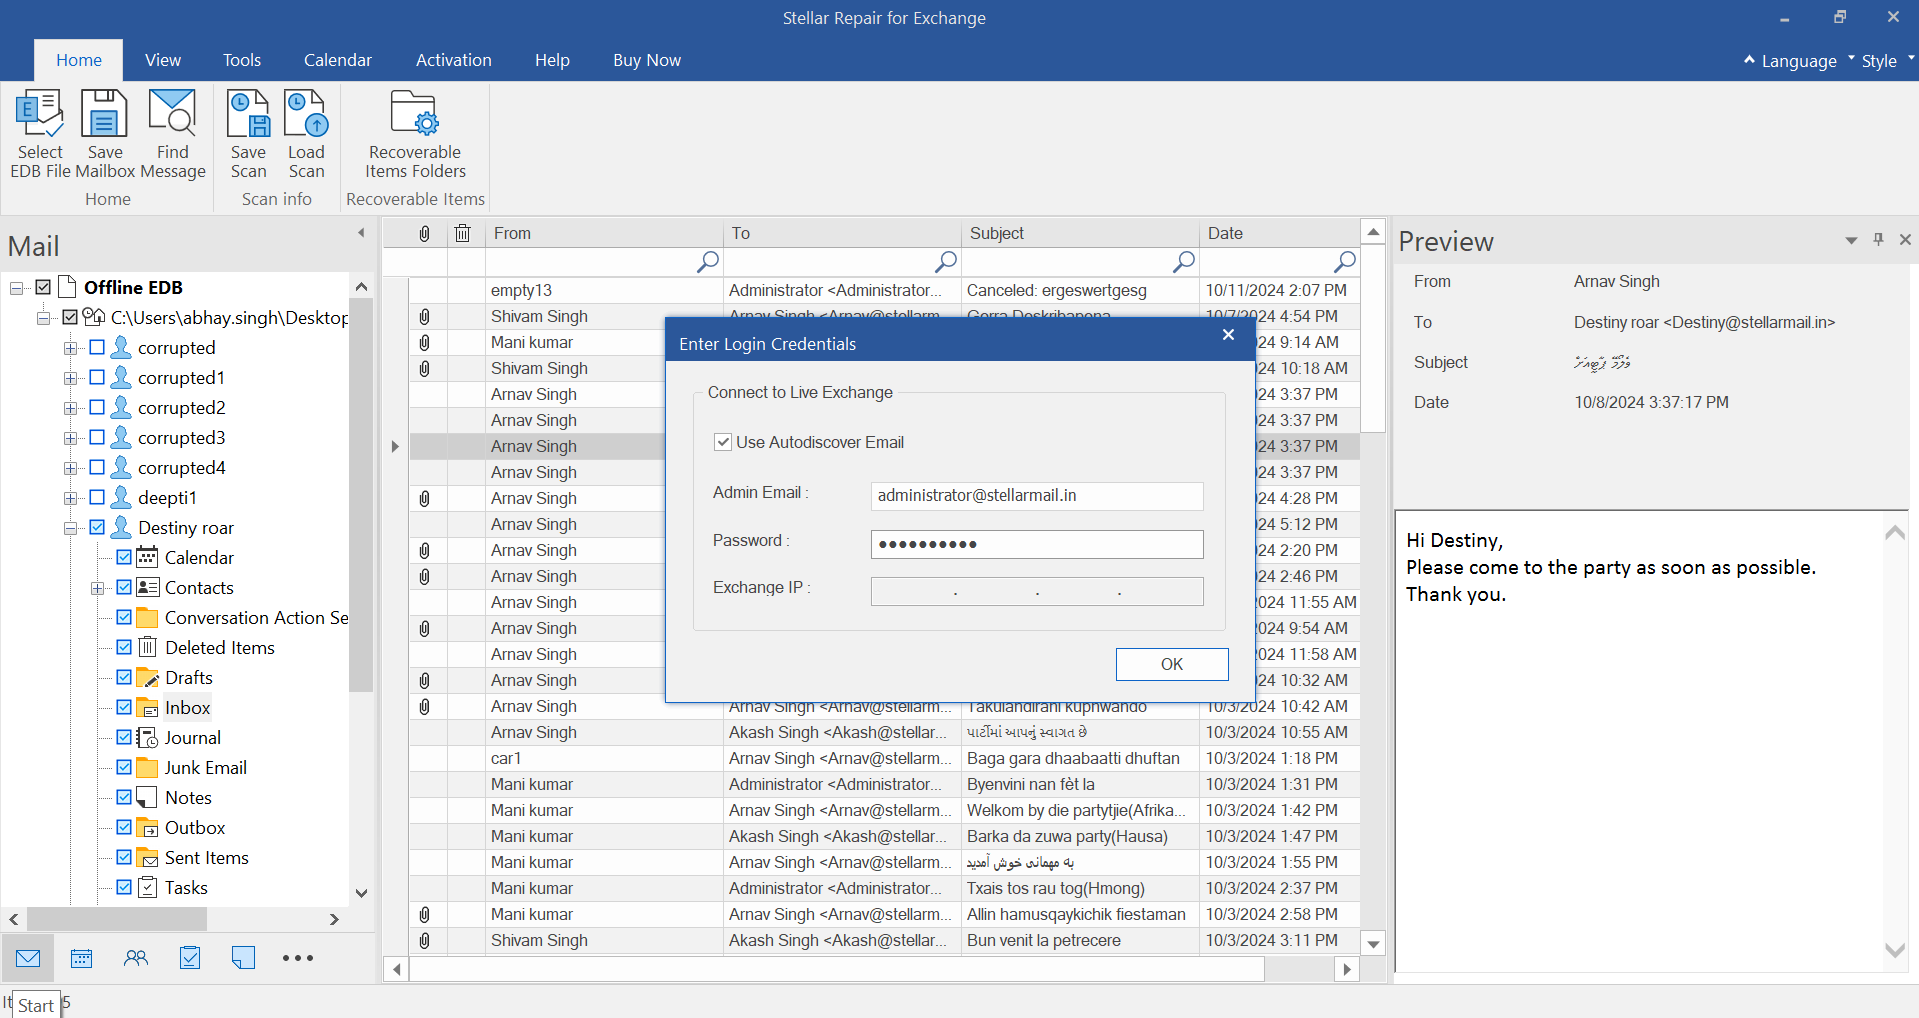
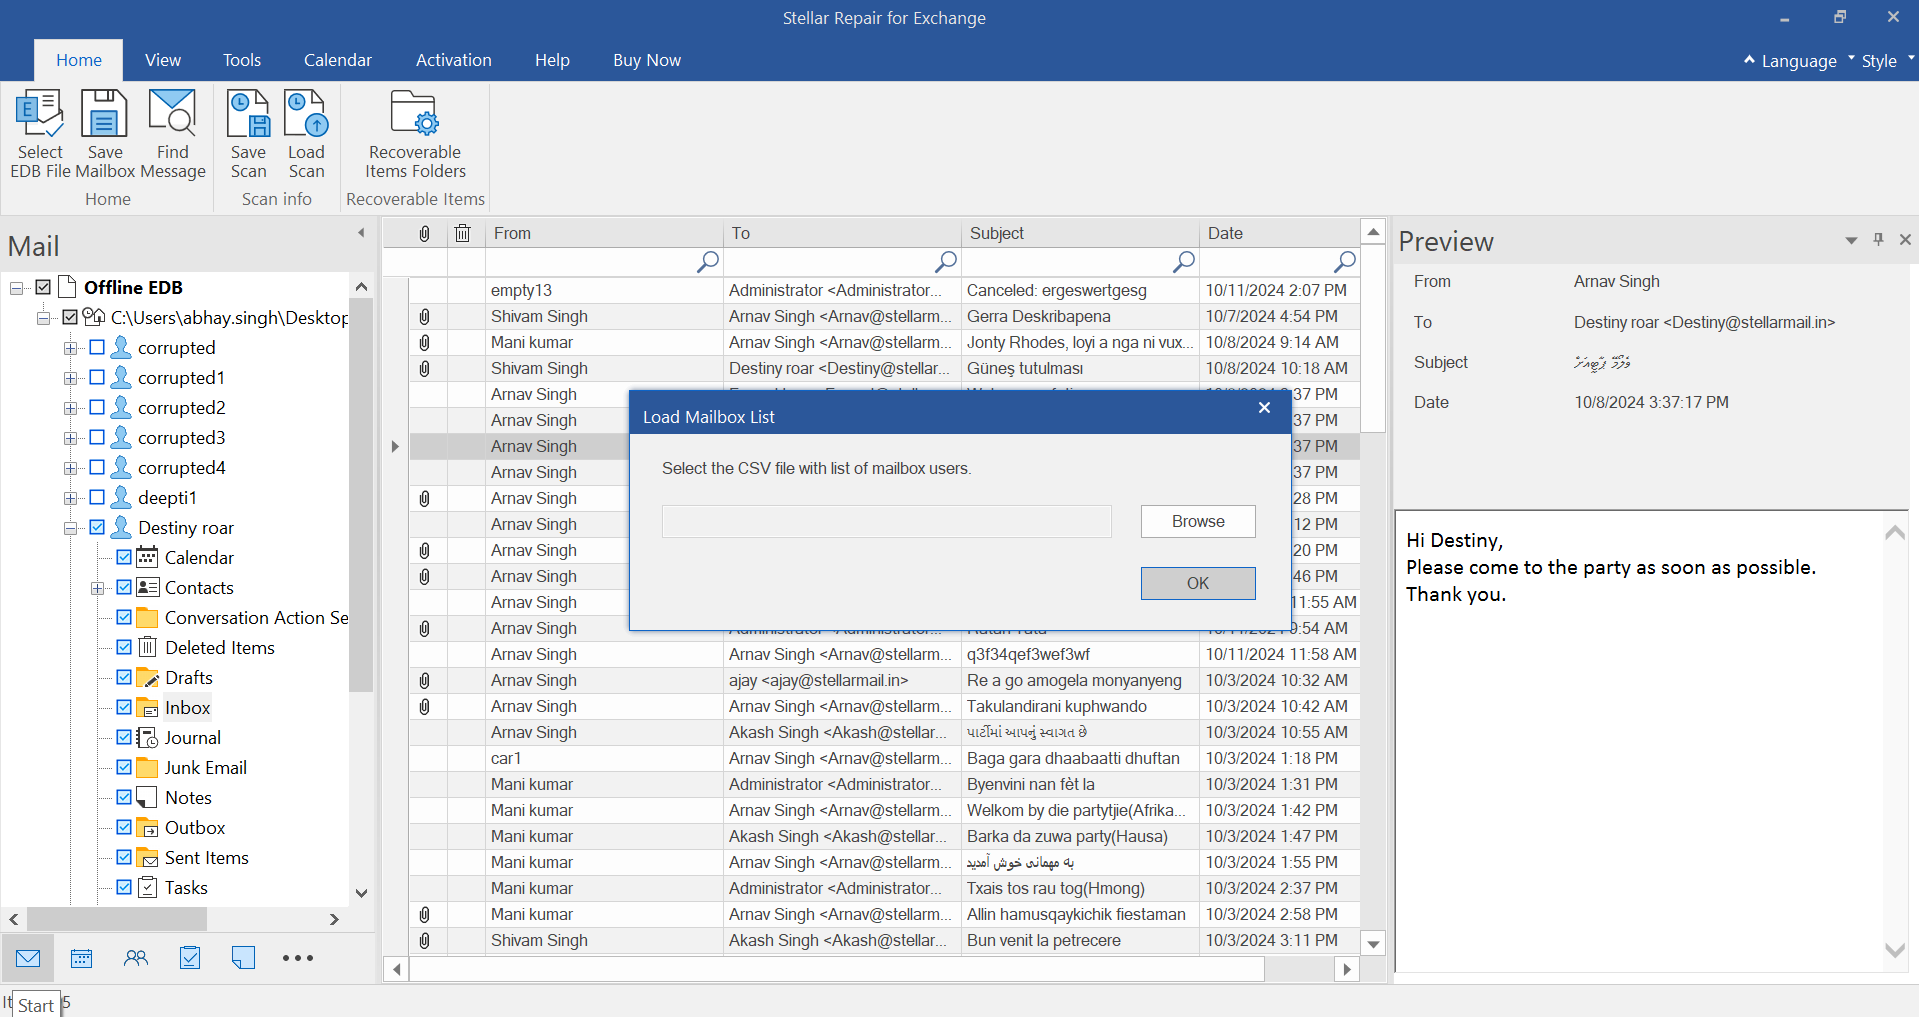
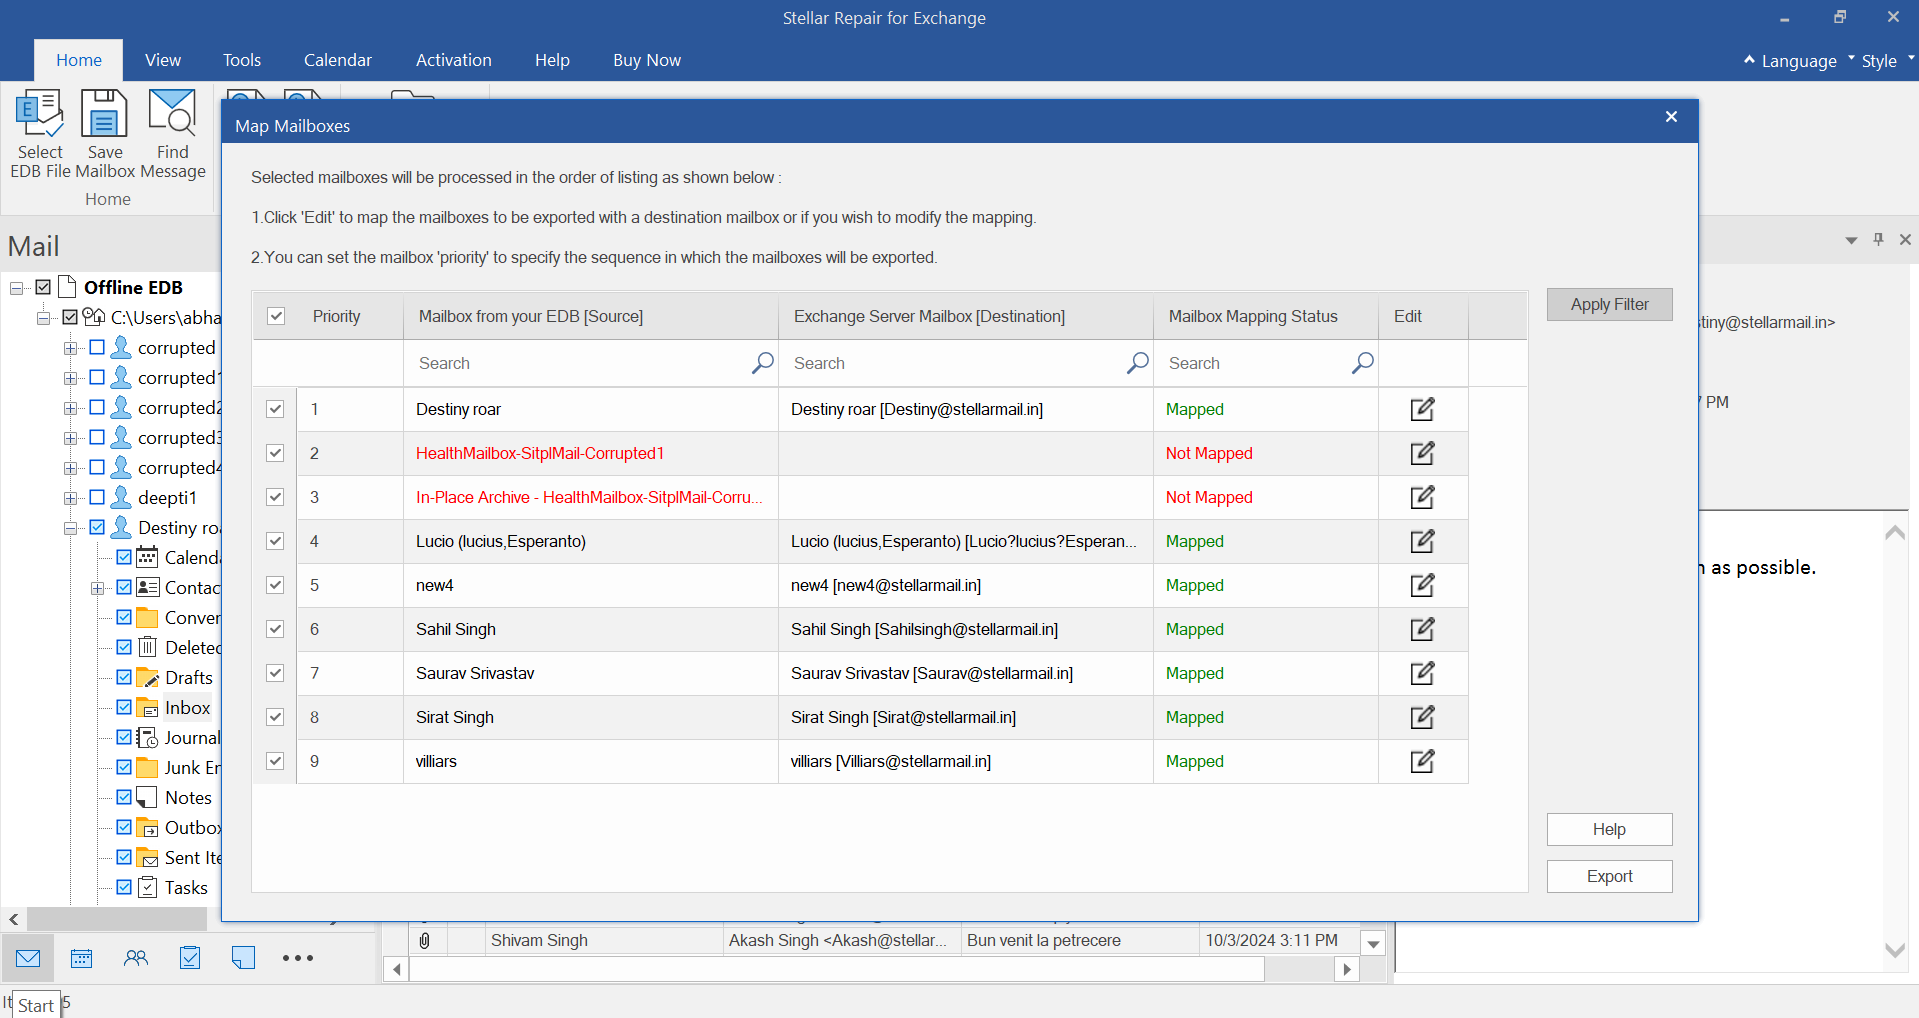
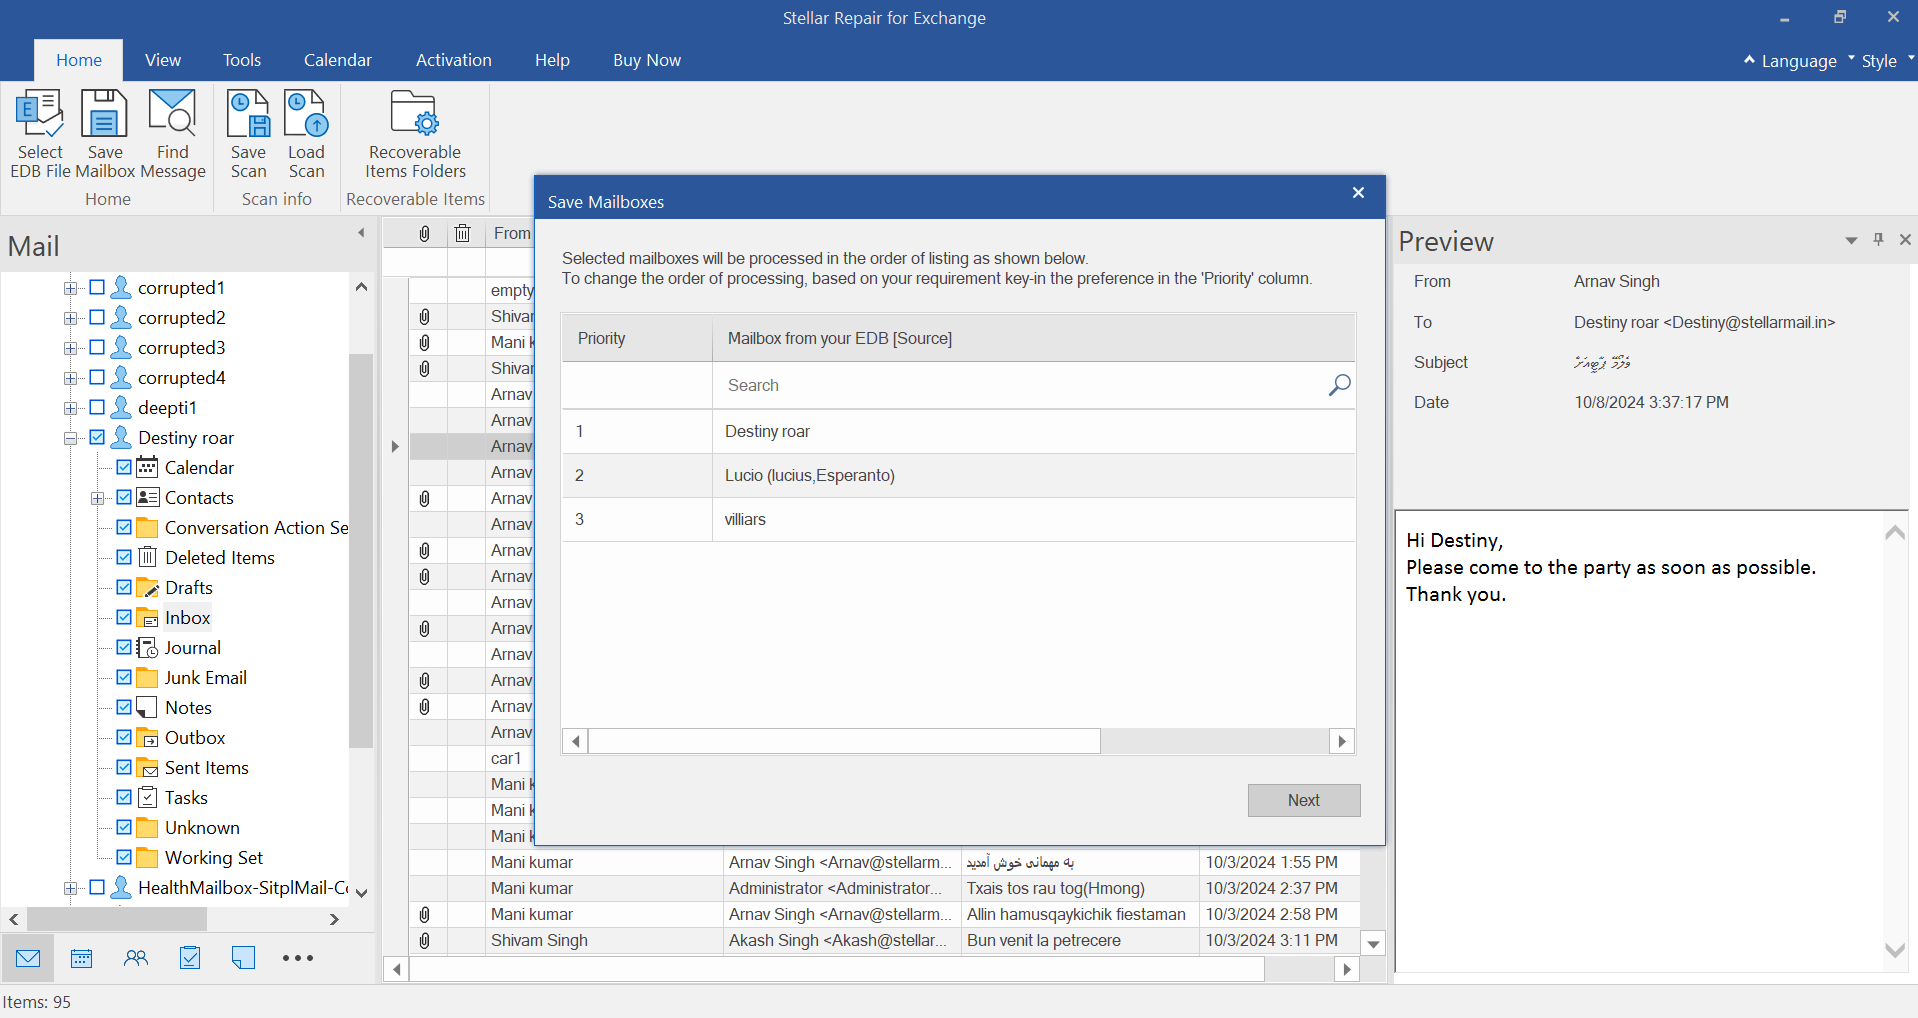
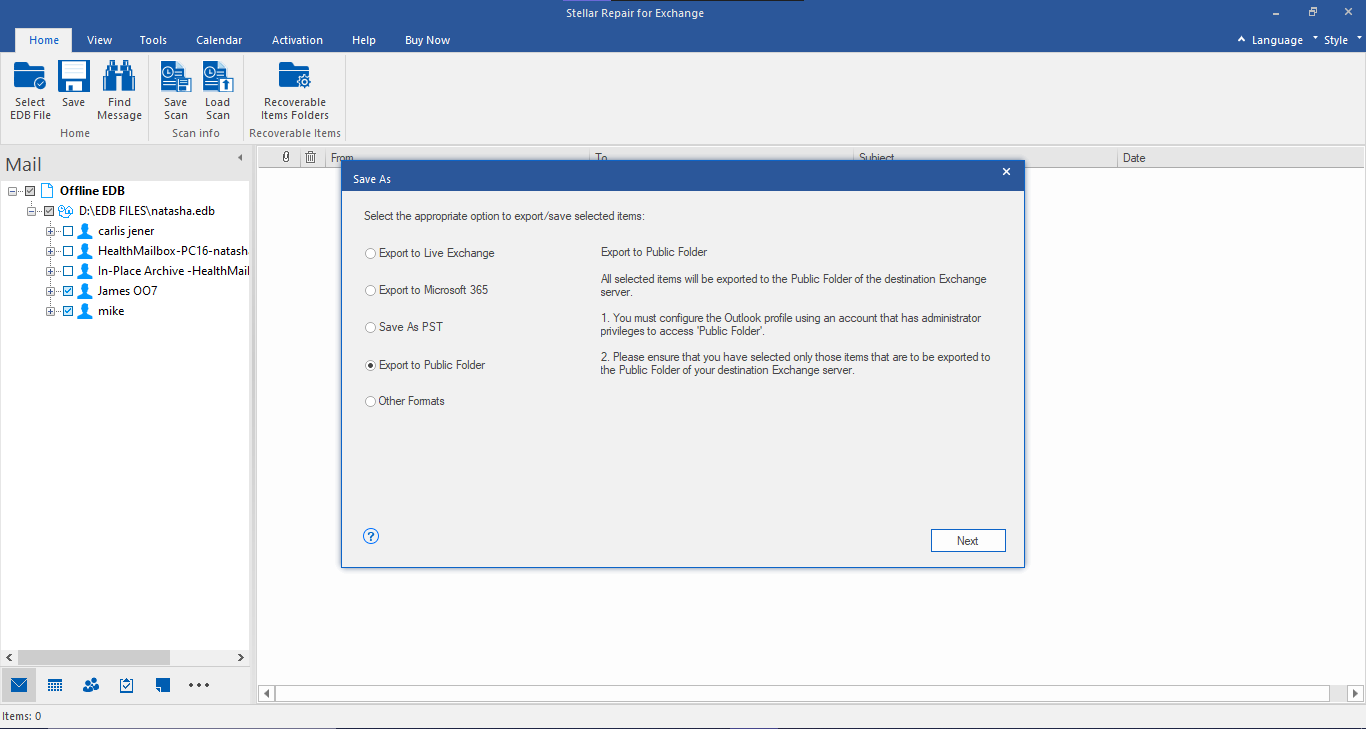
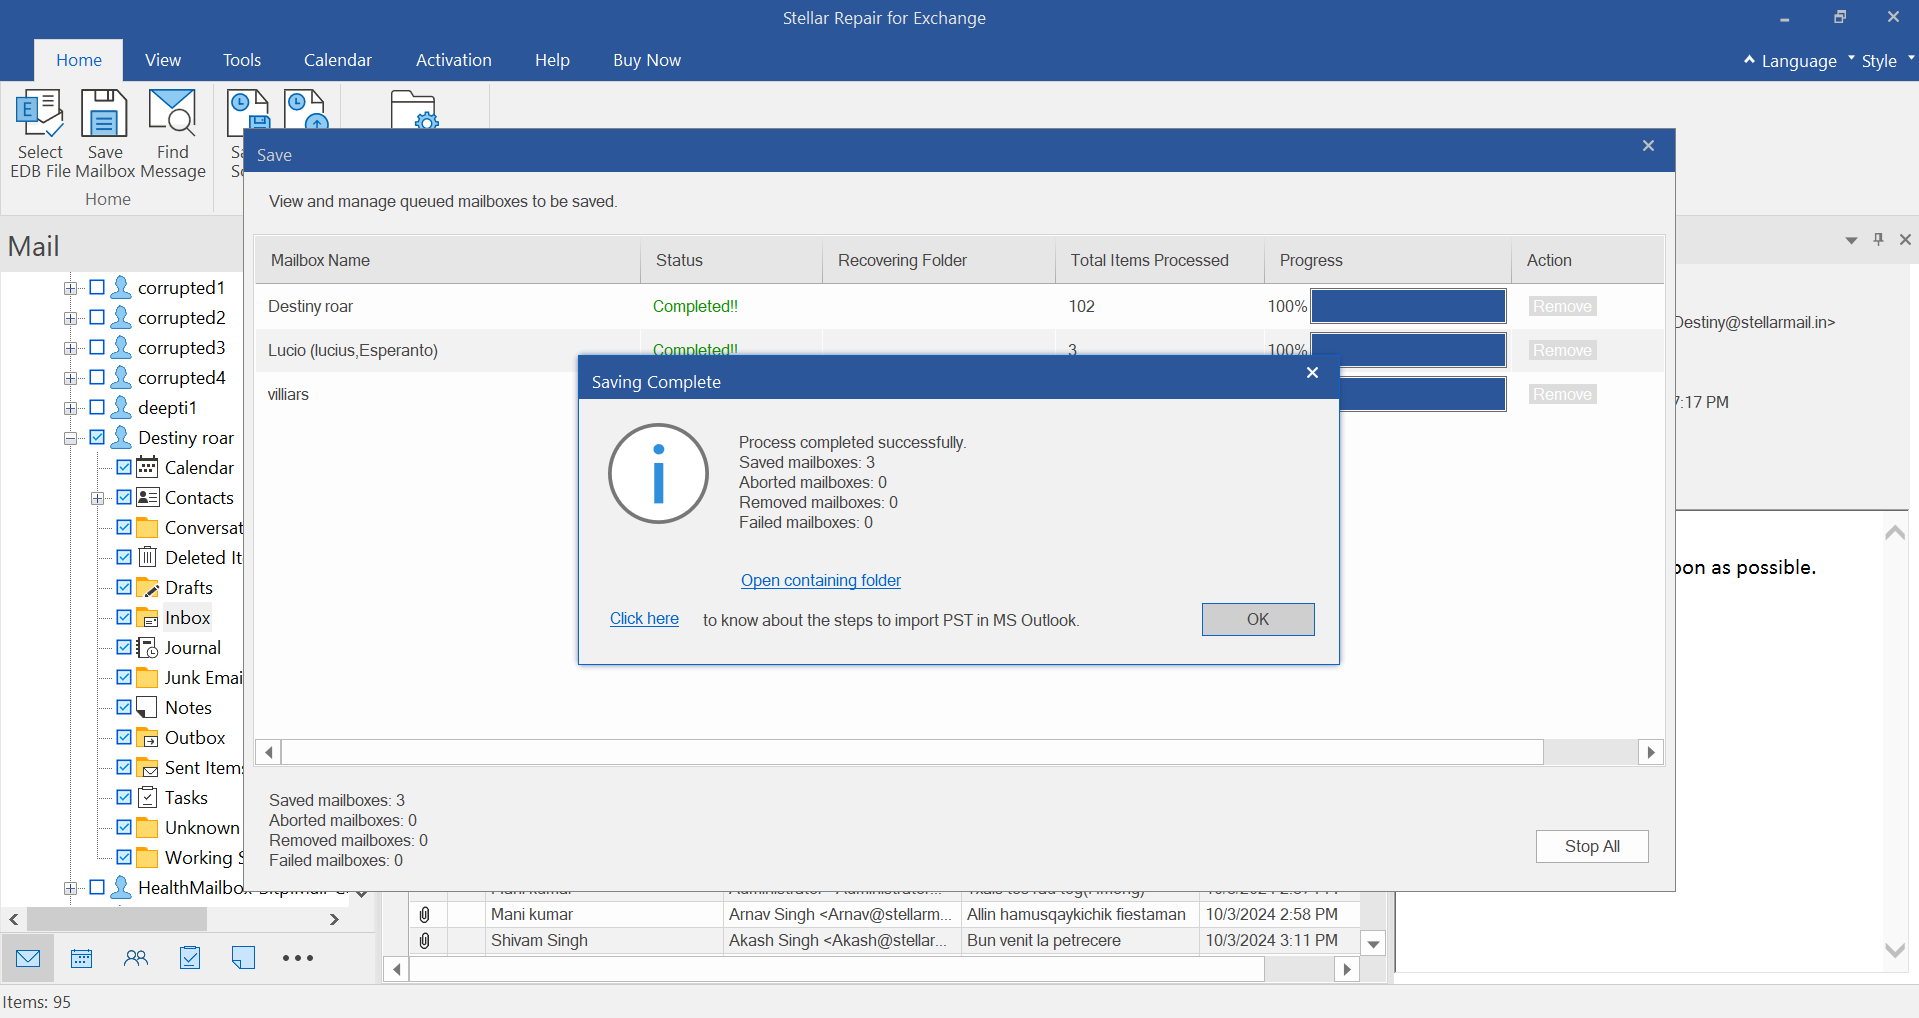
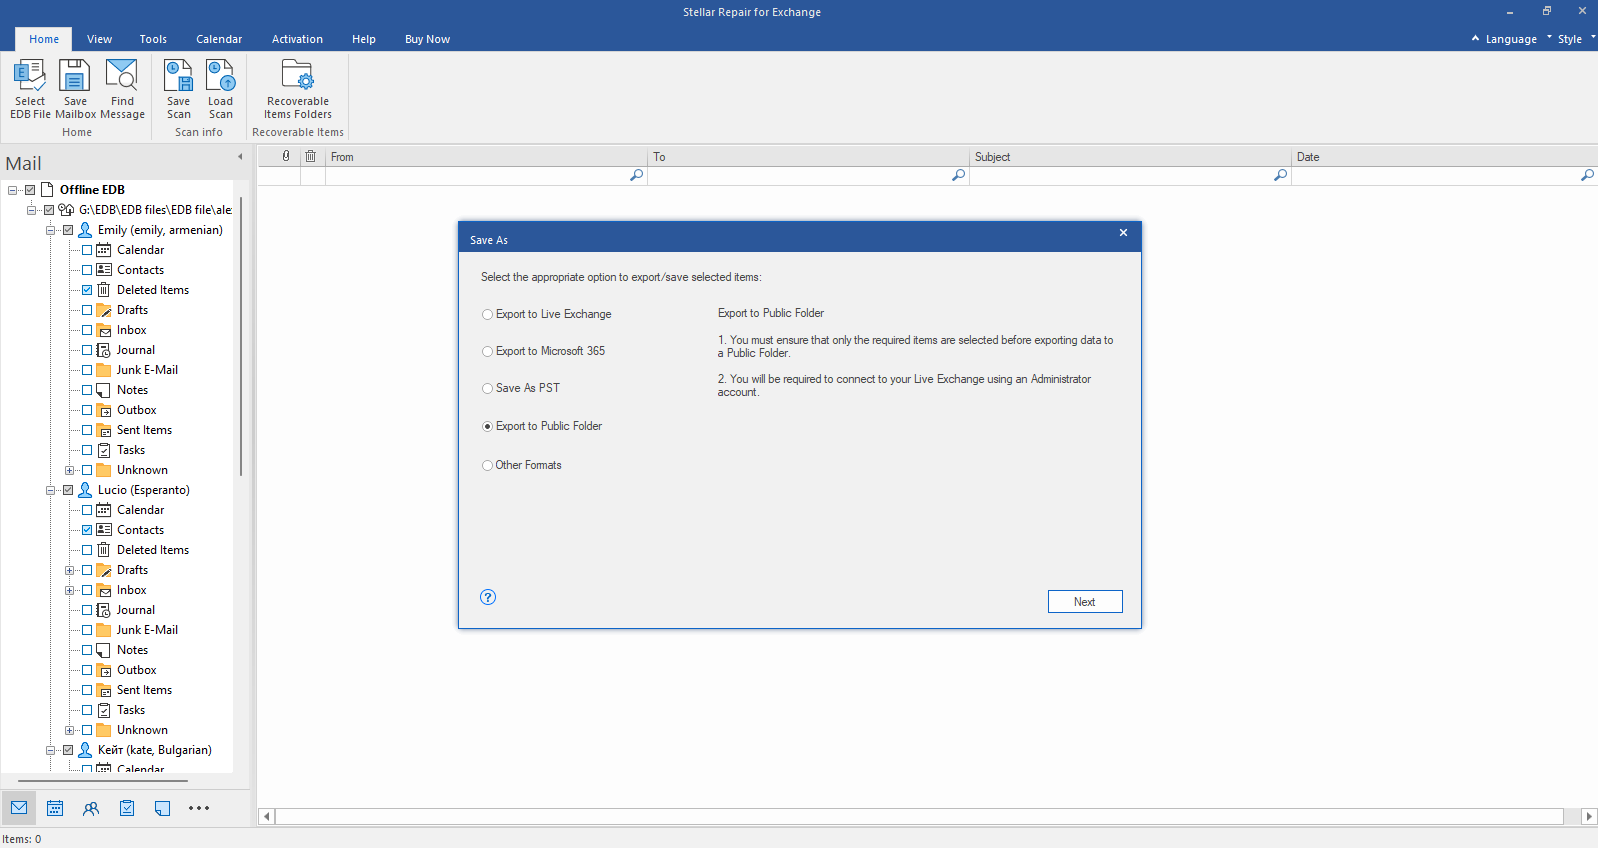
- Exchange Repair Repair corrupt EDB file & export mailboxes to Live Exchange or Office 365
- Outlook PST Repair Repair corrupt PST & recover all mailbox items including deleted emails & contacts
- OLM Repair Repair Outlook for Mac (OLM) 2011 & 2016 backup files & recover all mailbox items
- Exchange Toolkit Repair EDB & Exchange backup file to restore mailboxes, convert OST to PST, & convert EDB to PST
- Active Directory Repair Repair corrupt Active Directory database (Ntds.dit file) & extract all objects in original form
-
Email Converter
- EDB to PST Convert online & offline EDB file & extract all mailbox items including Public Folders in PST
- OST to PST Convert inaccessible OST file & extract all mailbox items including deleted emails in PST
- NSF to PSTConvert IBM Notes NSF file & export all mailbox items including emails & attachments to PST
- MBOX to PSTConvert MBOX file of Thunderbird, Entourage & other clients, & export mailbox data to PST
- OLM to PST Convert Outlook for Mac Data File (OLM) & export all mailbox data to PST in original form
- GroupWise to PST Convert GroupWise mail & export all mailbox items - emails, attachments, etc. - to PST
- EML to PSTConvert Windows Live Mail (EML) file & export mailbox data - emails, attachments, etc. - to PST
- Office 365 to PSTConnect to Office 365 account & export mailbox data to PST and various other formats
- Migrator for Office 365Quickly migrate Outlook data files(OST/PST) directly to Office 365 or Live Exchange
-
File Repair
- SQL Repair Repair corrupt .mdf & .ndf files and recover all database components in original form
- Access RepairRepair corrupt .ACCDB and .MDB files & recover all records & objects in a new database
- QuickBooks RepairRepair corrupt QuickBooks® data file & recover all file components in original form
- MySQL RepairRepair MyISAM & InnoDB tables and recover all objects - keys, views, tables, triggers, etc.
- Excel RepairRepair corrupt Excel (.XLS & .XLSX) files and recover tables, charts, chart sheet, etc.
- BKF RepairRepair corrupt backup (BKF, ZIP, VHDX and .FD) files and restore complete data
- Database ConverterInterconvert MS SQL, MySQL, SQLite, and SQL Anywhere database files
- PowerPoint RepairRepair corrupt PPT files and restore tables, header, footer, & charts, etc. like new
- File Repair ToolkitRepair corrupt Excel, PowerPoint, Word & PDF files & restore data to original form
-
Data Recovery & Erasure
- Data RecoveryRecover lost or deleted data from HDD, SSD, external USB drive, RAID & more.
- Tape Data RecoveryRetrives data from all types and capacities of tape drives including LTO 1, LTO 2, LTO 3, & others.
- Virtual Machine RecoveryRecover documents, multimedia files, and database files from any virtual machine
- File ErasurePermanently wipe files and folders, and erase traces of apps and Internet activity.
- Mobile ErasureCertified and permanent data erasure software for iPhones, iPads, & Android devices
- Drive ErasureCertified and permanent data erasure software for HDD, SSD, & other storage media
-
Toolkit
- Exchange Toolkit5-in-1 software toolkit to recover Exchange database, convert EDB to PST, convert OST to PST, restore Exchange backup, and reset Windows Server password.
- Outlook ToolkitComprehensive software suite to repair PST files, merge PST files, eliminate duplicate emails, compact PST files, and recover lost or forgotten Outlook passwords.
- File Repair ToolkitPowerful file repair utility to fix corrupt Word, PowerPoint, and Excel documents created in Microsoft Office. It also repairs corrupt PDF files and recovers all objects.
- MS SQL Toolkit5-in-1 software toolkit to repair corrupt SQL database, restore database from corrupt backup, reset database password, analyze SQL logs, & interconvert databases.
- Data Recovery ToolkitSoftware helps to recovers deleted data from Windows, Mac and Linux storage devices. Also supports recovery from RAIDs & Virtual Drives.
- MYSQL Toolkit3-in-1 software toolkit to repair Corrupt Mysql, MariaDB & Analyze logs, and Interconvert Databases.
- Tape Recovery ToolkitStellar Toolkit for Tape is comprehensive software designed to recover data from LTO tapes and support major parsers such as Veritas, TSM, Symantec NetBackup, as well as CPIO and TAR files.
-
Forensic
- Email ForensicAdvanced email forensic solution for cyber experts to audit, analyze, or investigate emails & gather evidences.
- Log Analyzer for MySQLAnalyze forensic details of MySQL server database log files such as Redo, General Query, and Binary Log.
- Exchange AuditorExchange Server monitoring solution to automate audits, scans and generate reports ìn real-time.
- Log Analyzer for MS SQLTrack & analyze MS SQL Server database transactions log files.
-
-
Our Partners
-
Lab Services
-
Support
-
About
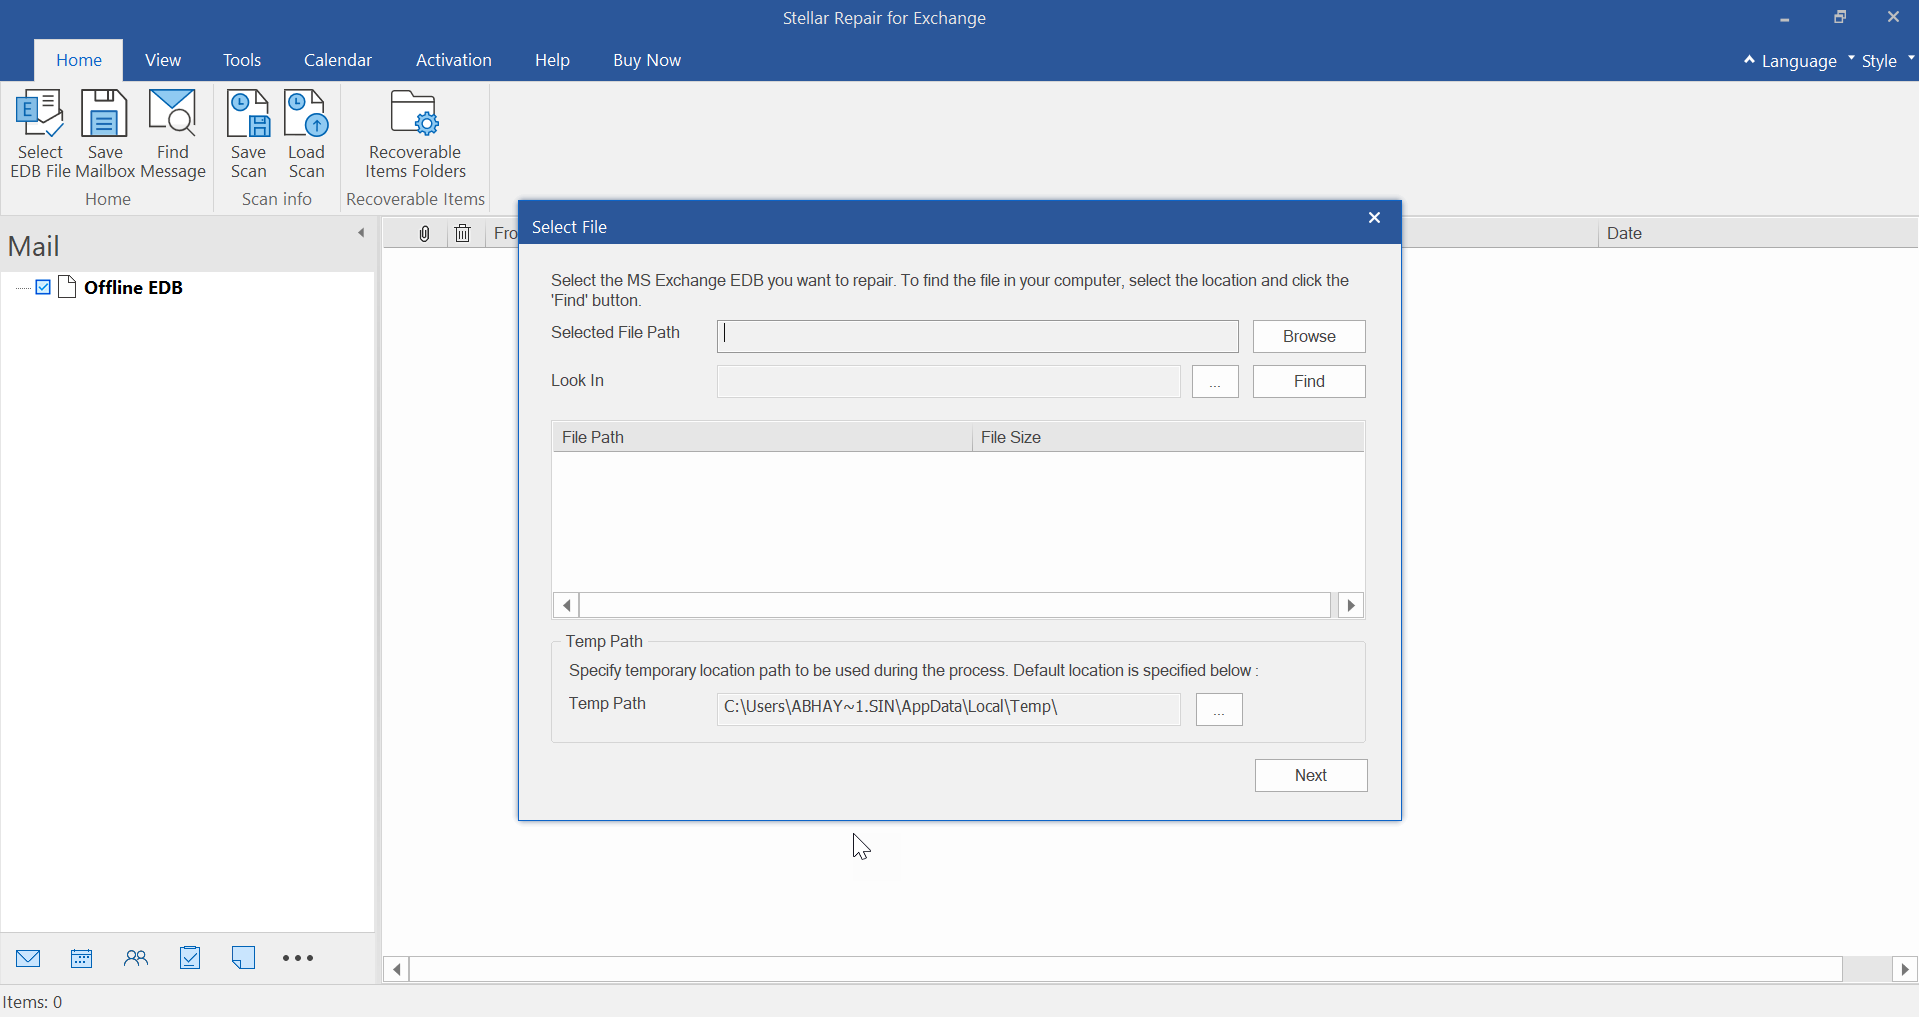
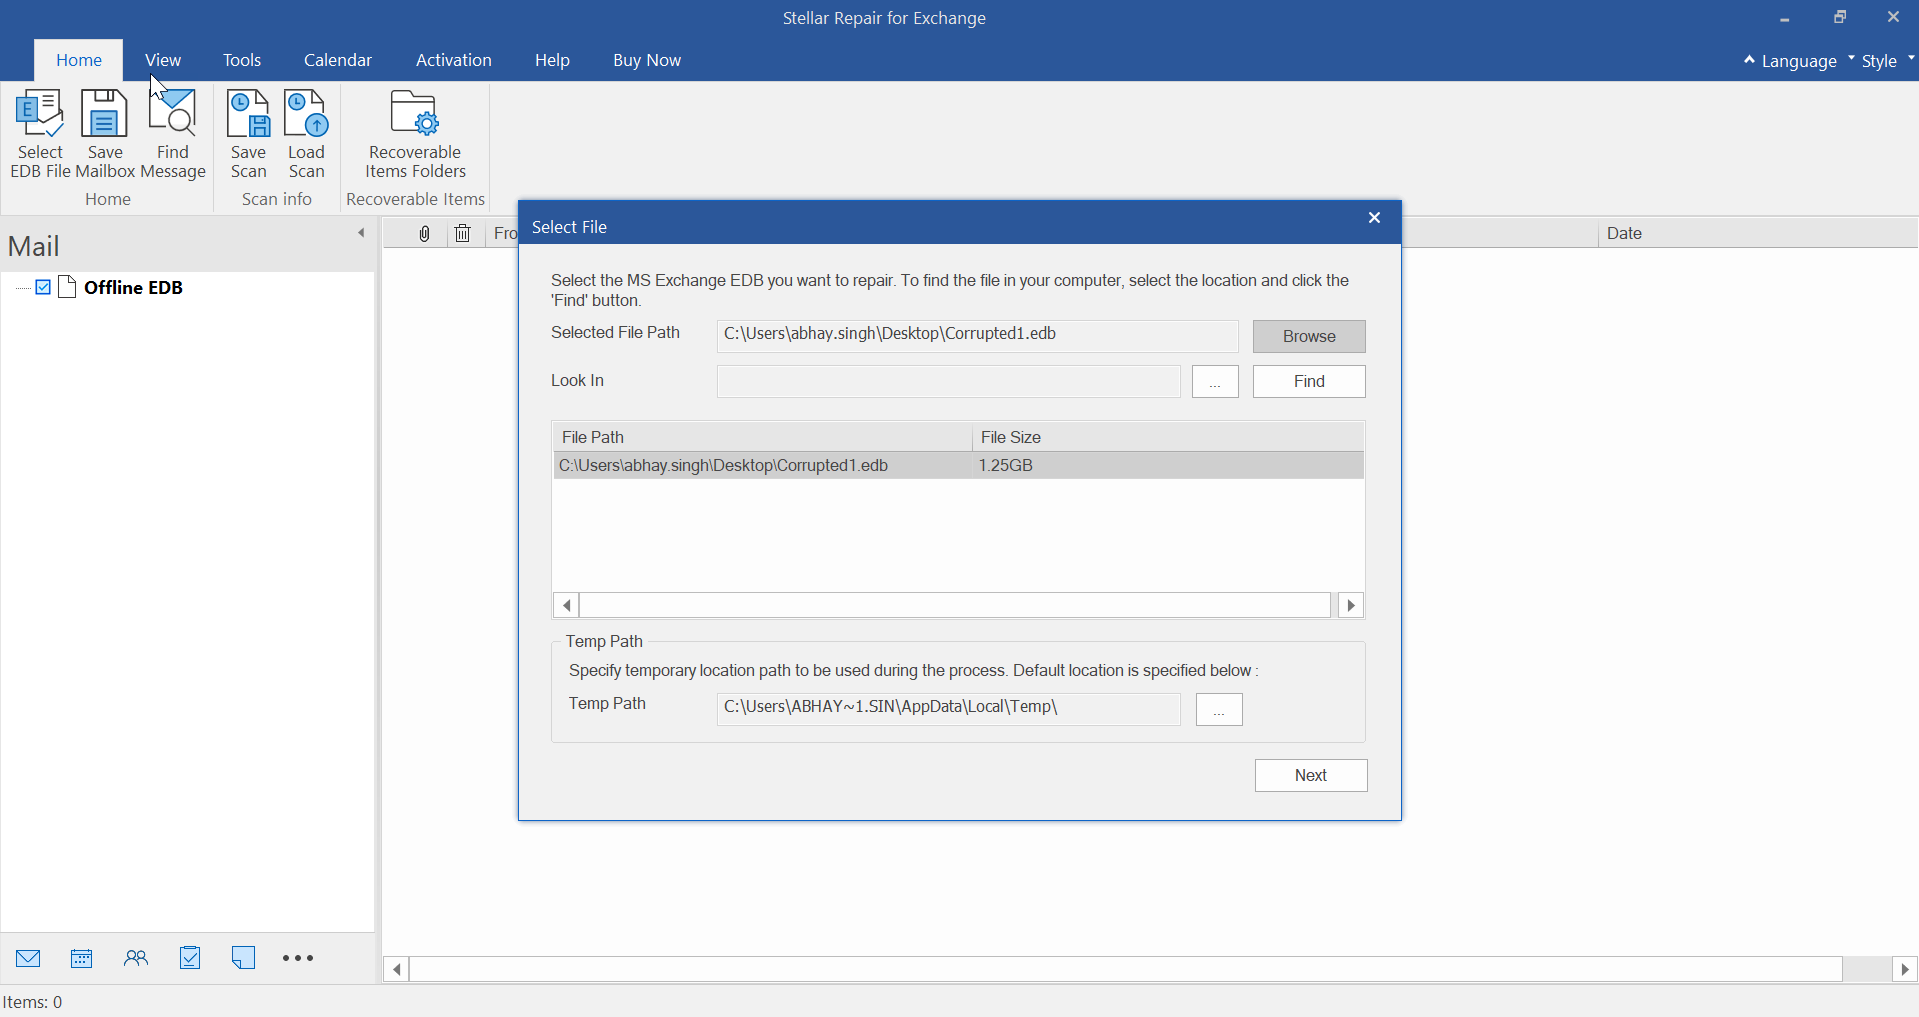
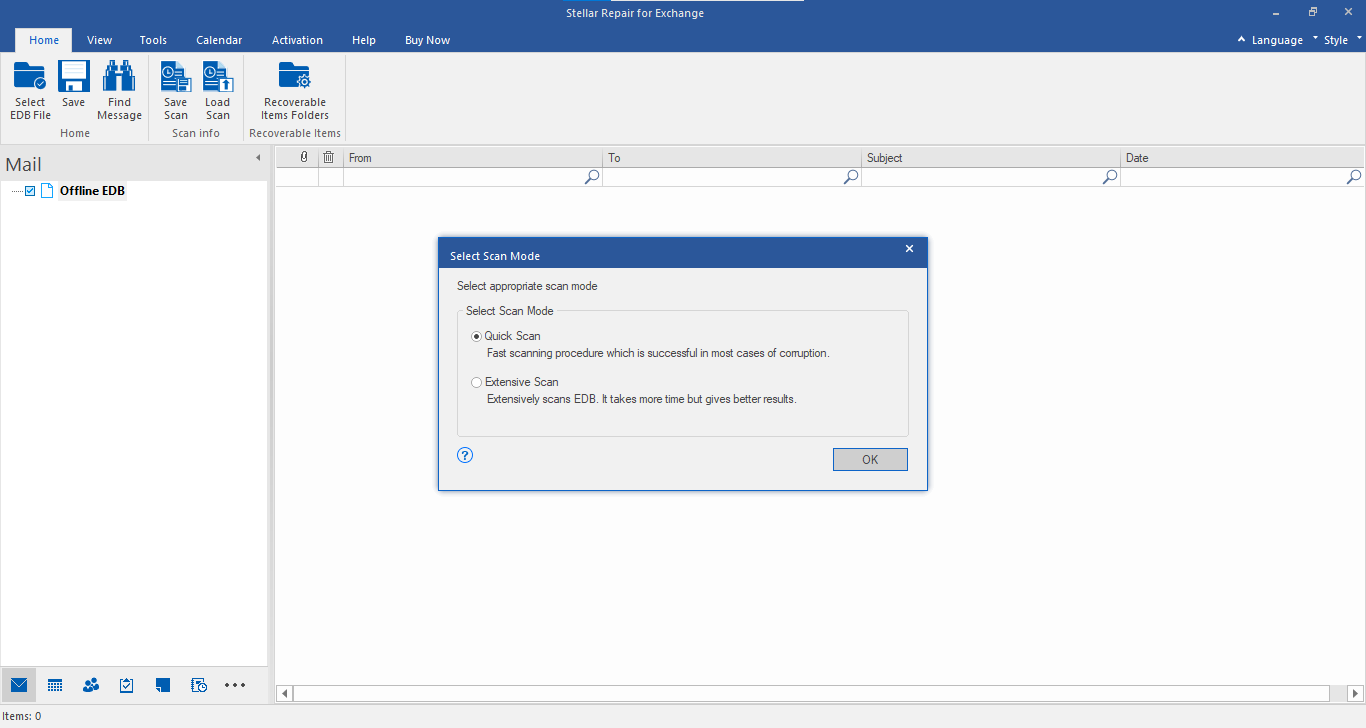
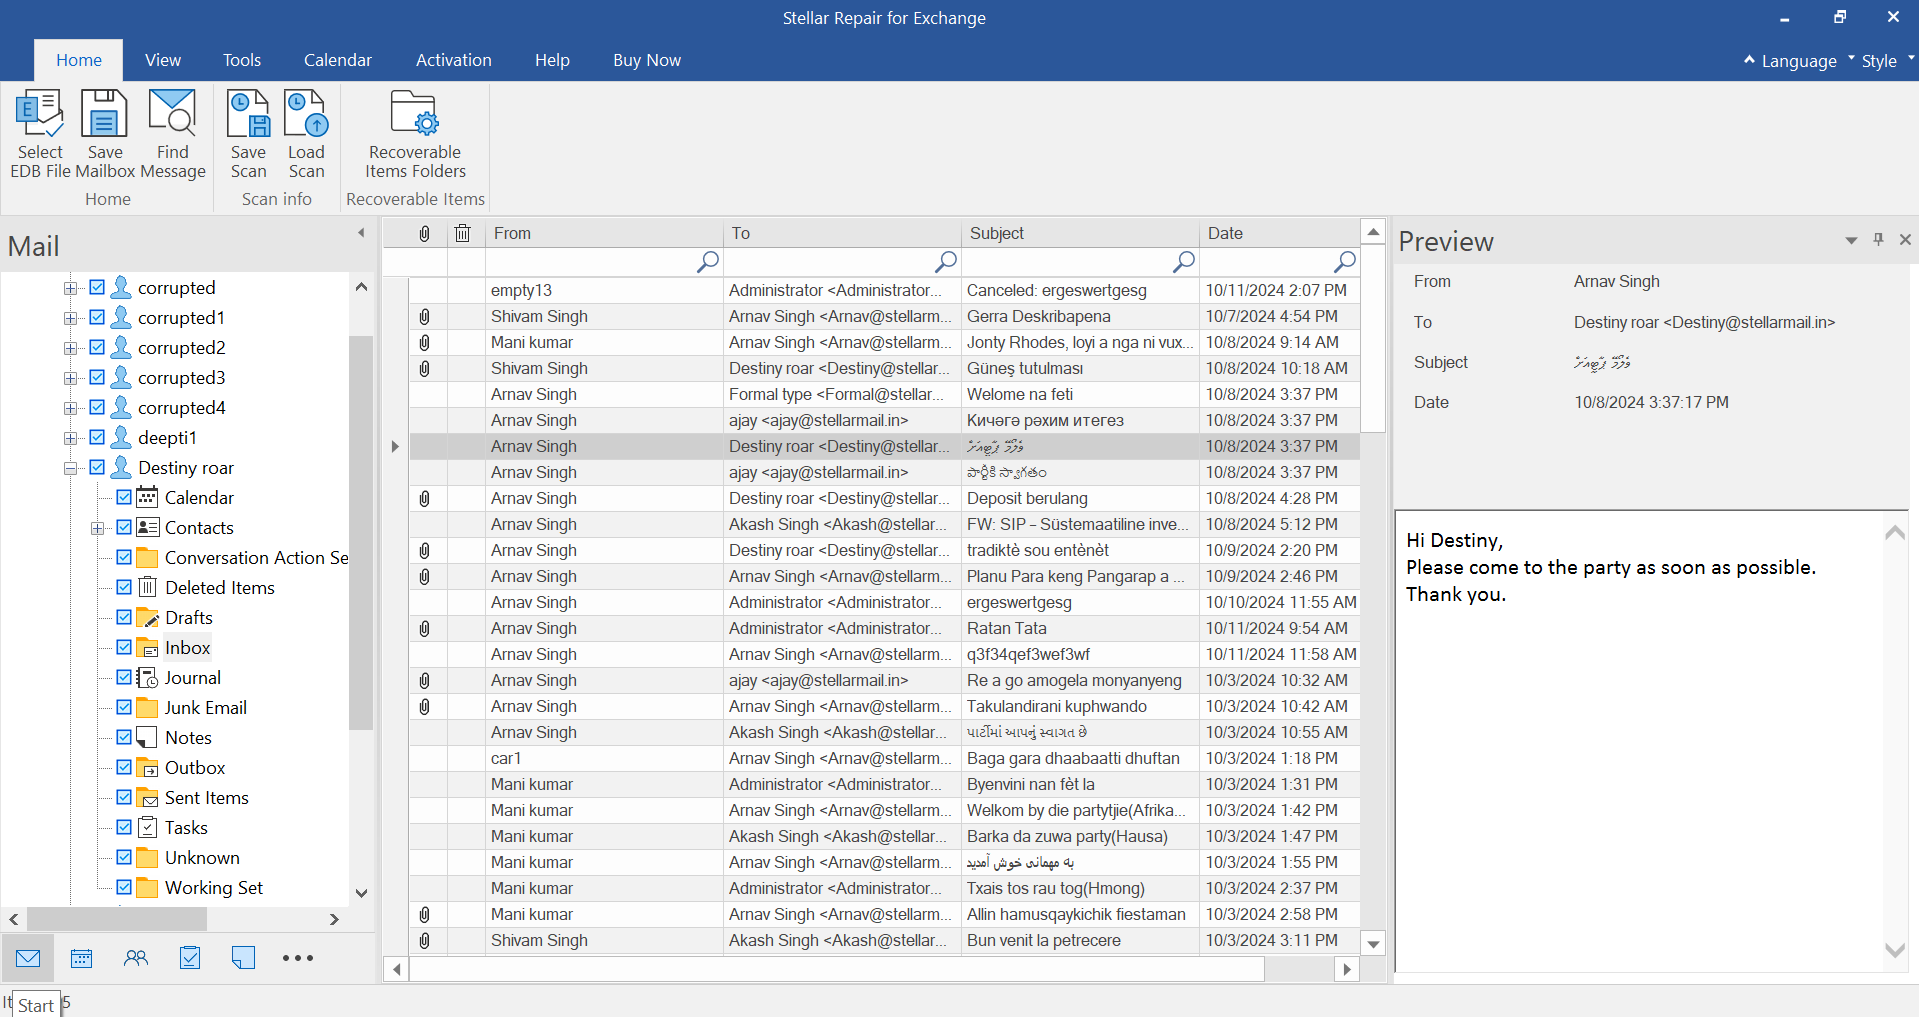
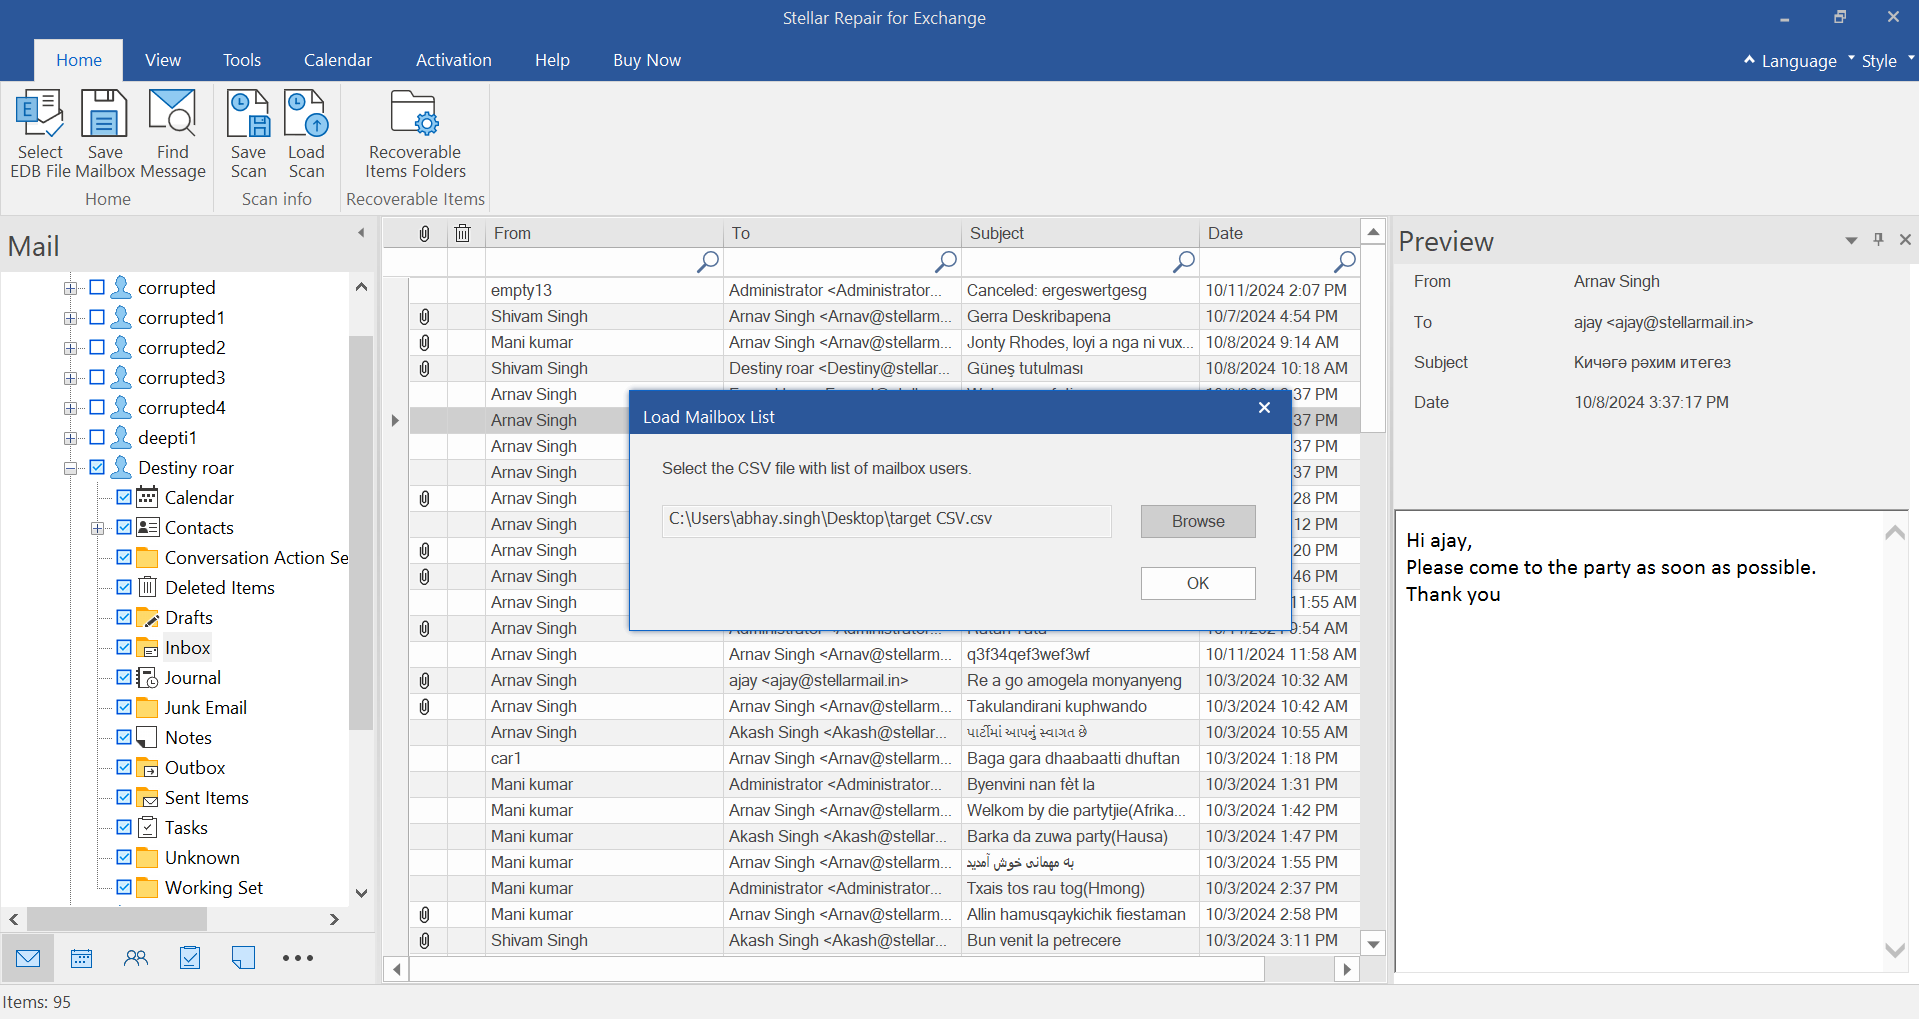
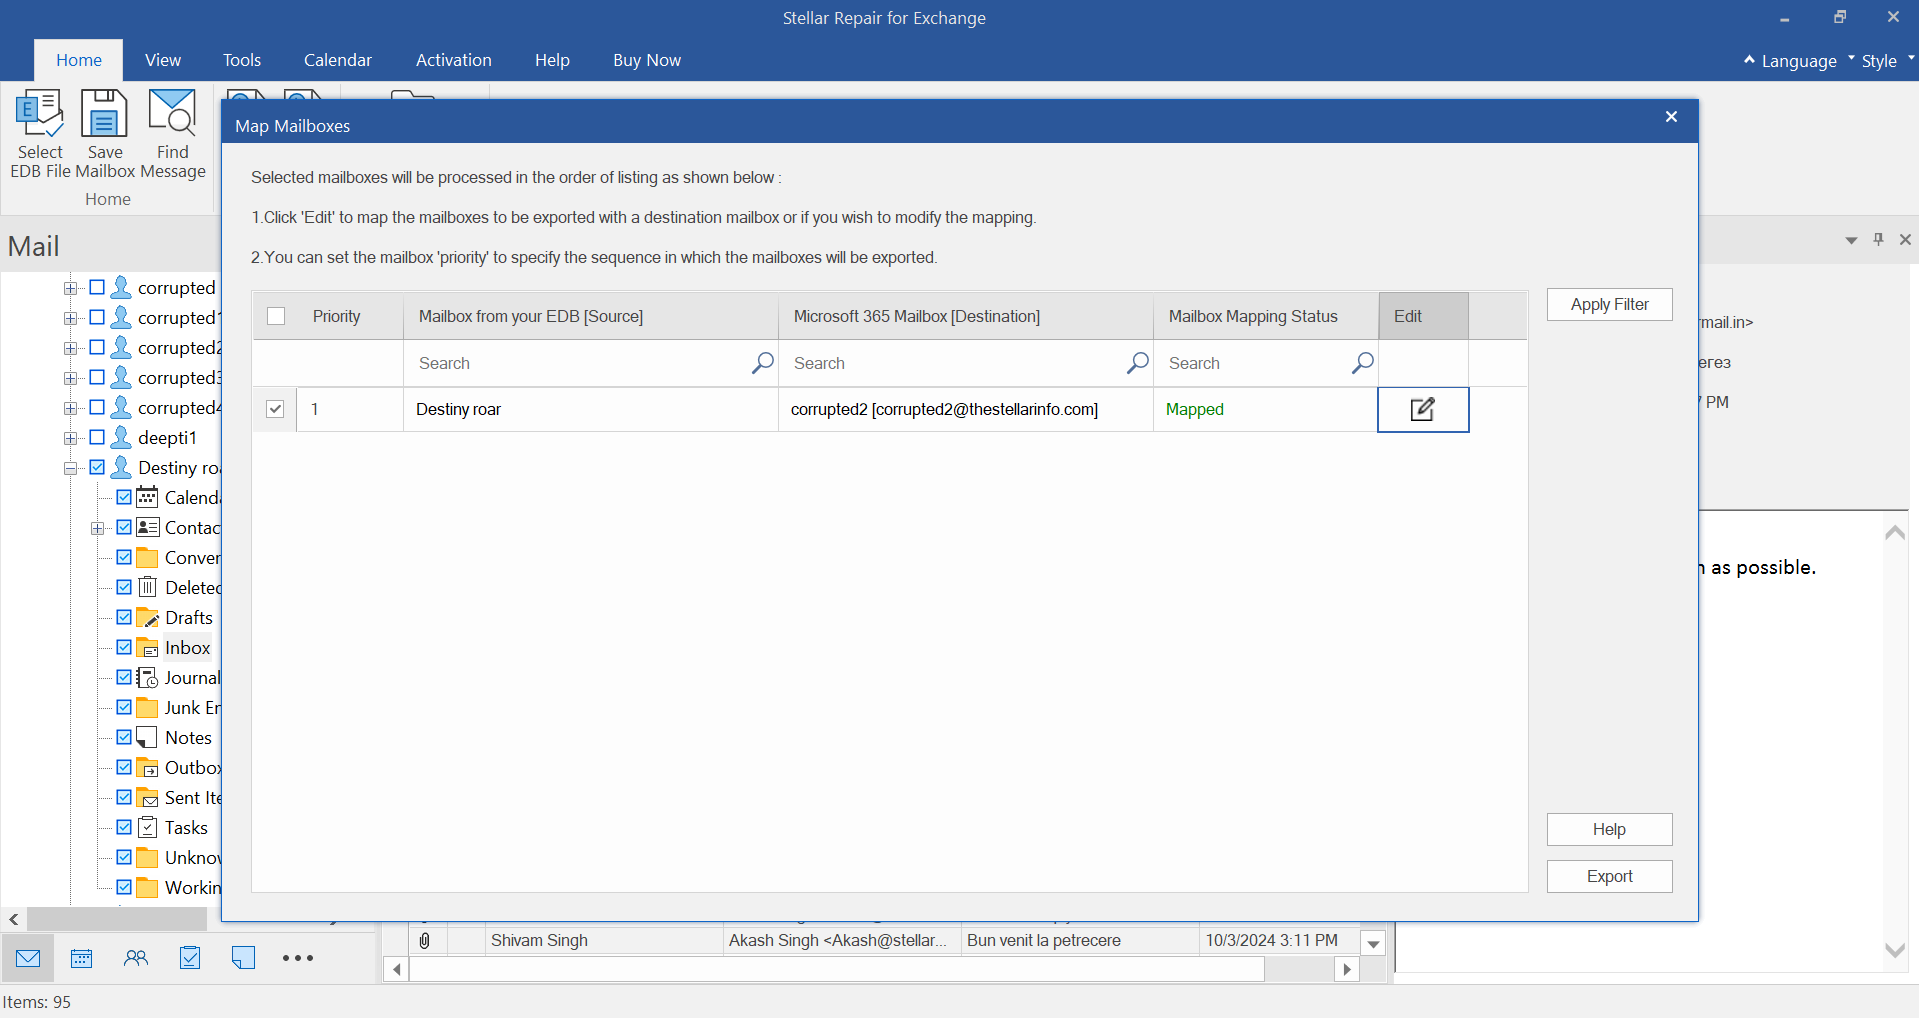
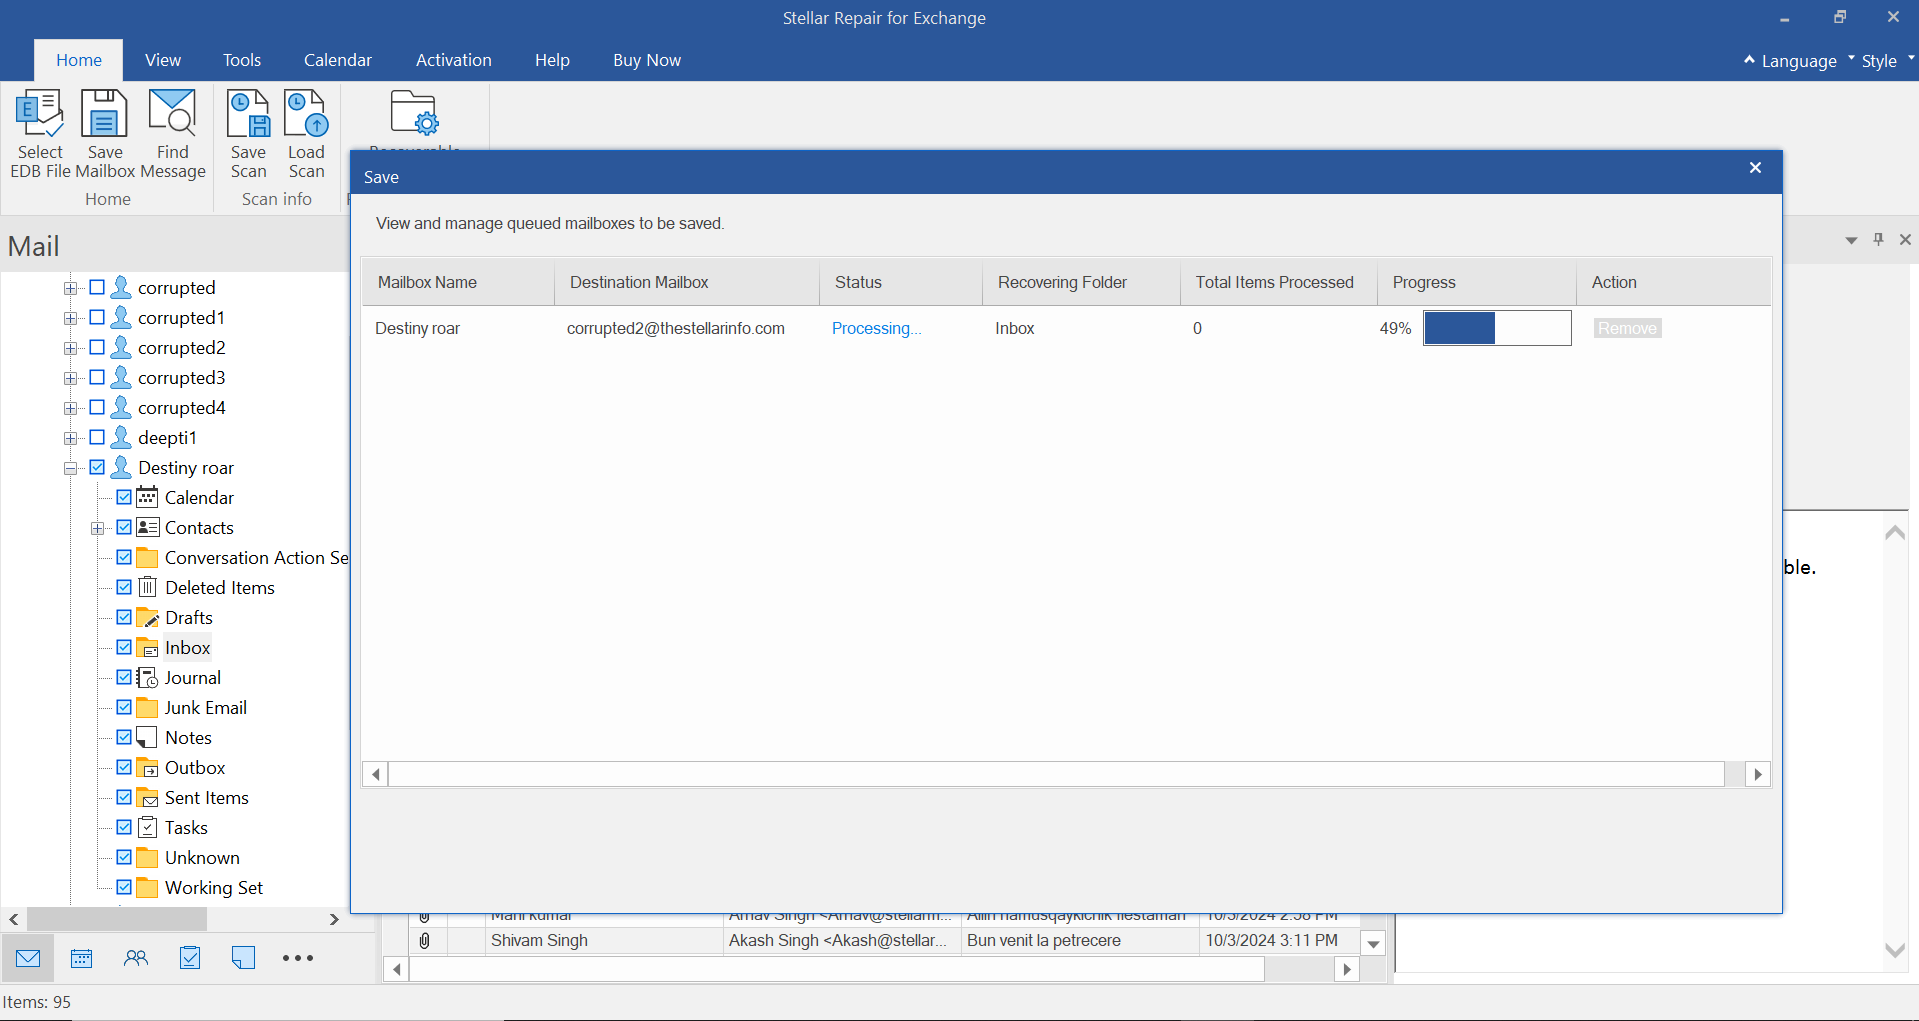
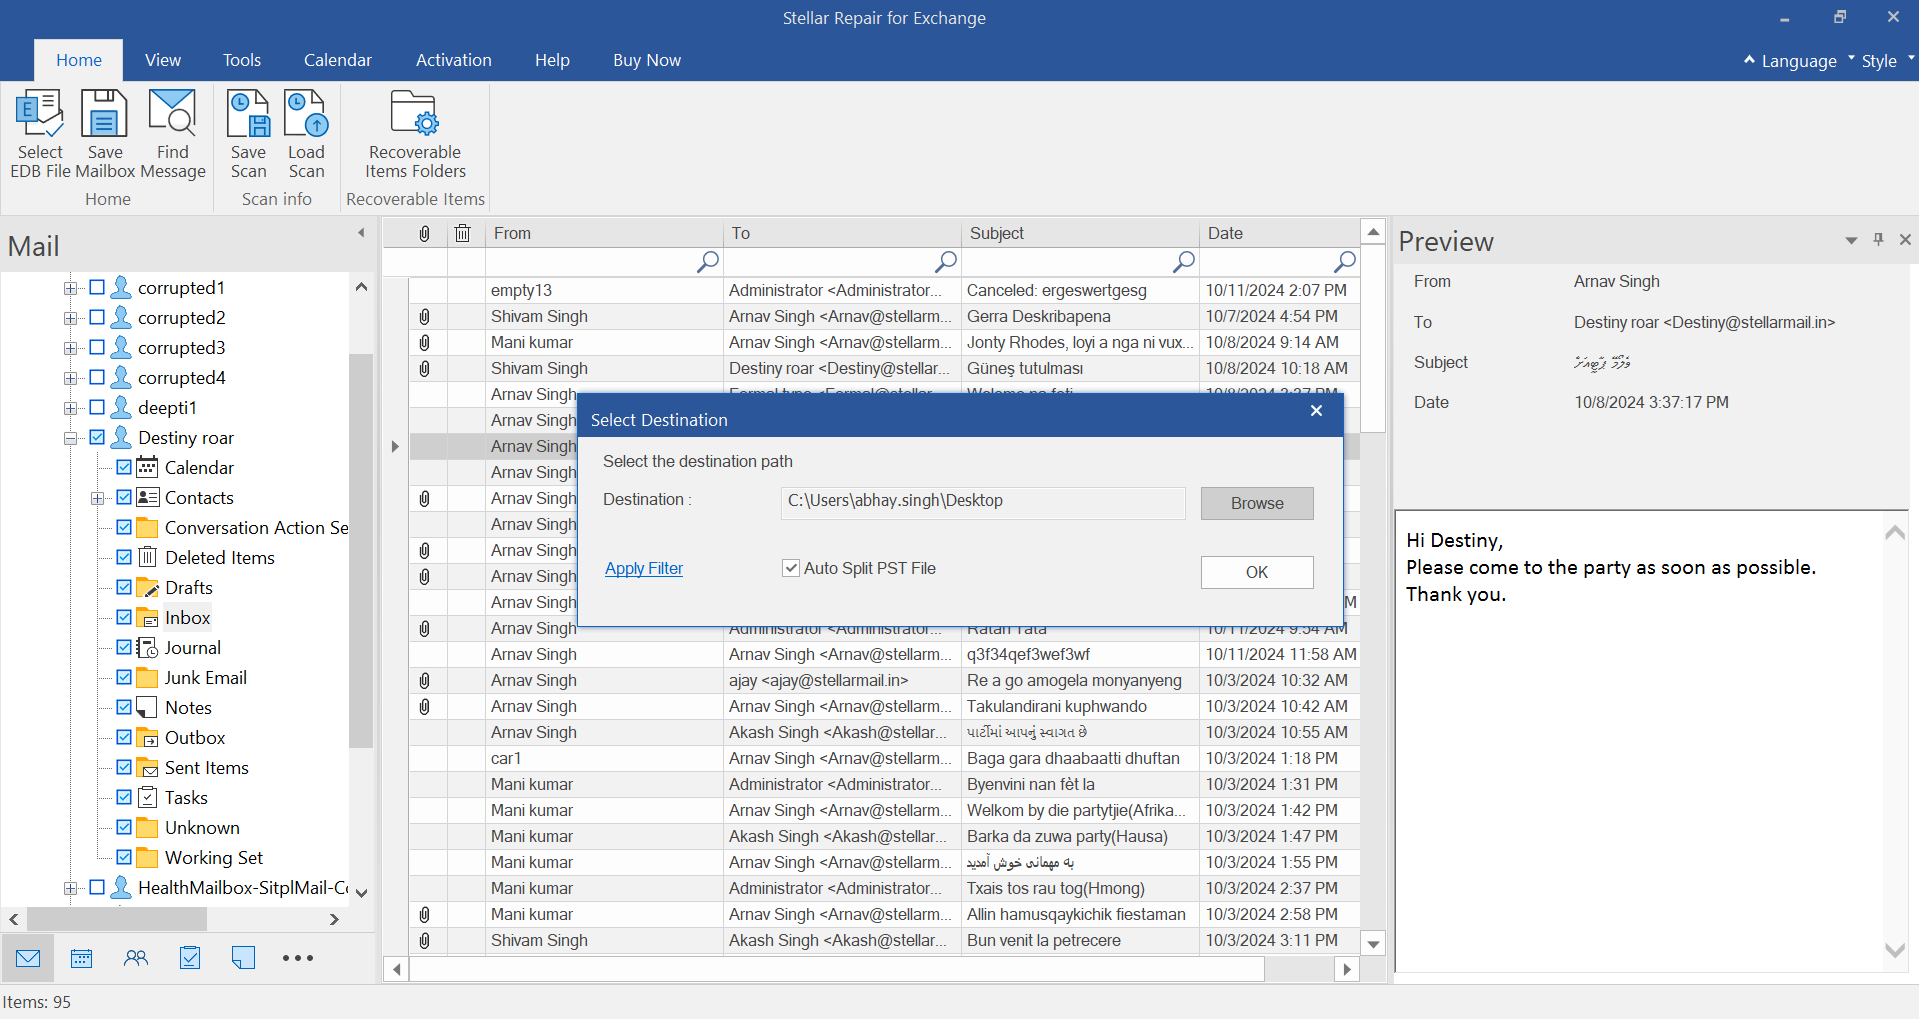
.png)
.png)
 Free Download
  Installation


