Losing the personal collection of photos becomes a pain in the neck when no backup is available. Such a scenario becomes even tougher for laymen in the lack of appropriate guidance. People sometimes get their precious photos deleted unintentionally due to SD card formatting or in like scenarios. As a result, they have to suffer huge losses. Stellar Photo Recovery software enables recovering lost or deleted photos of several file types in simple steps and does not require users to be technically sound.
Complete Media Files Recovery
This photo recovery software supports recovering lost or deleted photos on Windows-based computers, including support for Windows 8. Irrespective of the causes of photos loss, this recovery software performs the intended task efficiently for a range of formats of photos, audio and video files captured with different types of digital cameras. Also, the recovery is independent of the storage media. See how this digital media recovery software brings the lost precious moments back to life:
1. With the concerned storage media installed or connected to a Windows-based computer, run Stellar Photo Recovery from the Start menu.
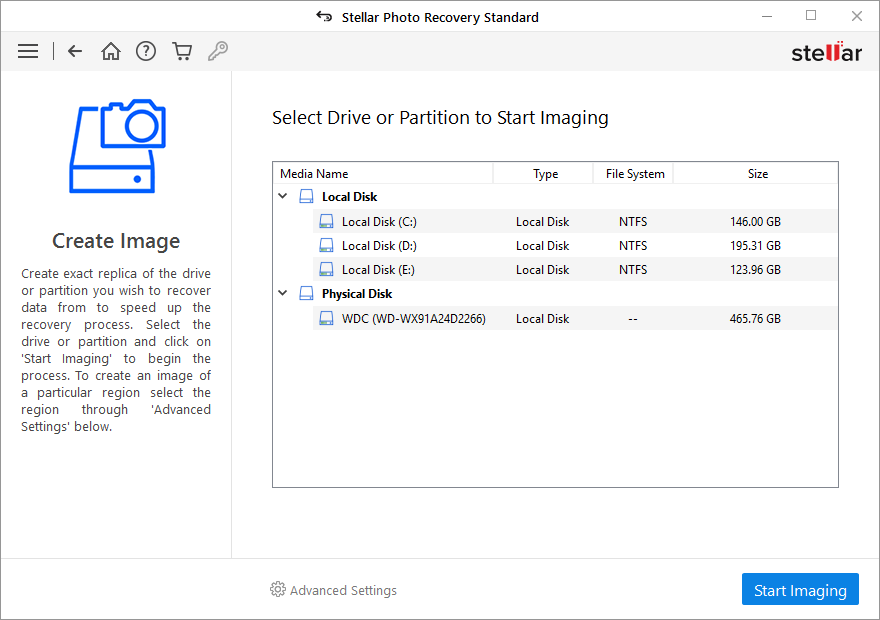
2. On the software home screen, click Recover Photo, Audio and Video to begin with the recovery process. This takes you to Select the drive from which you want to recover your media files. (See the screenshot below).

4. In the list of drives installed or connected to the computer, select the concerned media and click Scan Now to run a deeper and full scan.
OR
With the concerned media selected, click Advanced Scan option, which enables running a customized scan for lost media (See the screenshot below) files.

5. Select/deselect the file types and/or camera models for Photos, Audio and Video files to run a customized scan on entire or selected region of the selected storage media. Click Scan Now.

6. Based on the size of the media scanning, the software may take a while to end up scanning. This will land up to the preview screen (see the screenshot below).

7. In the hierarchical structure of folders, select one to reveal its contents to the bottom-right pane, and then select one for preview and so on. Users can filter the result before saving the recovered items. Click Recover to Save.
Note: Use a different drive to save the recovered items.
Once the software finishes saving the recovered items, visit the selected location and check the recovered items.
Based on the level of corruption, some of the recovered media files fail to open. All such files led to corruption before they were lost. Generally, the photos captured with the cameras (JPEG files) get corrupt and require repairing. Repair all corrupt JPEG images with Stellar Repair for Photo software in the following manner:
- With the media storing the recovered items connected to installed, run Stellar Repair for Photo software and click Repair JPEG option on the home screen (See the screenshot below).
- Click Add File(s) option at the top of the list to the right (See the screenshot below), and then select the corrupt JPEG images. The software enables selecting and repairing multiple photos simultaneously.
- With the required corrupt JPEG images selected, click Repair File(s) and see the preview of the repaired ones along with their Thumbnails (See the screenshot below).
- To extract thumbnails only, click Extract Thumbnails option on the home screen. After repairing the required thumbnails, preview them, and then click Save.
- Select a location to save the repaired JPEG images/photos.


